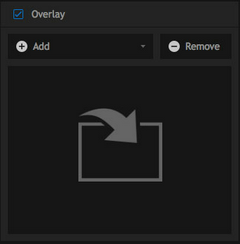
The optional overlay layer enables you to apply a partially transparent image. This is typically used to add an image containing an alpha channel to define its transparency, such as a logo or other branding.
The Overlay is applied after any effects you have used. If you wish your overlay to be affected by and adjustments made in the Effects panel, you should use a Layer instead.
Overlay Import
You can select the overlay image you wish to import in the top portion of the overlay toolset.

| • | Add Layer: click this button to add a new layer. Up to 16 new layers can be added. |
| • | Remove Layer: this button will remove the currently selected layer. |
Overlay Properties
The lower portion of the toolbox gives you control over the positioning of the overlay image.

| • | Autofit: you can choose whether to have layers automatically match a predefined size, position, and shape, or position them manually. The drop-down menu allows you to choose whether the overlay should auto-fit to the canvas, the foreground or the background. This works best when the layer image matches the size and shape of the layer you assign it to fit to. If the layer sizes differ, enabling fit to will distort the layer image to match the selected layer. |
When Fit To is disabled, the position, scale and rotation tools become available.
| • | Horizontal: adjusts the position of the layer from left to right |
| • | Vertical: adjusts the position of the layer from top to bottom |
| • | Scale: shrinks or enlarges the image. |
| • | Rotation: rotates the image in either direction. The angle buttons can be used to rotate the image 90 degrees clockwise or 90 degrees anti-clockwise. |
| • | Flip Horizontal: flips the image left to right |
| • | Flip Vertical: flips the image top to bottom |
| • | Blend Mode: select the blend mode your overlay will use, to control how it interacts with the layers below it. |

