This chapter guides you through the basics for creating a composited image in PhotoKey.
The toolsets
PhotoKey's features are organised into several toolsets. These are displayed in the toolbox on the right and you can change between the different toolsets using the toolset listing that is attached to the left side of the interface.
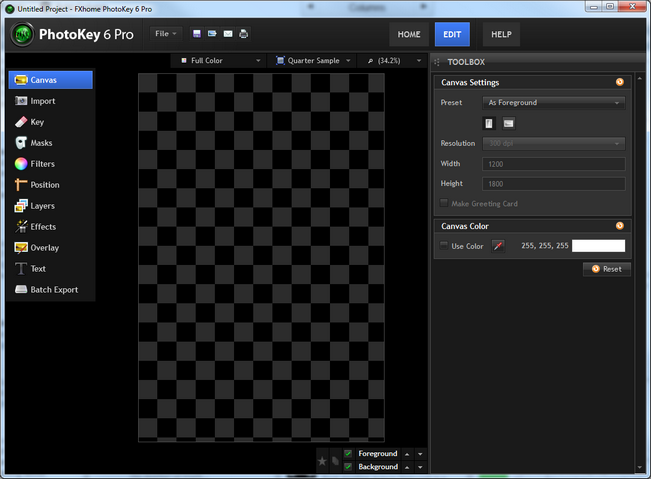
The various toolsets are listed roughly in the order they should be approached, starting with the canvas toolset and finishing with the export toolset. However, you don't need to use all of them - in some projects you may only use one or two toolsets before having a finished image.
Canvas
After starting PhotoKey, the first thing you'll notice is that there's a large rectangle in the middle of the workspace that is filled with a checkerboard pattern. This area is your canvas and the pattern represents transparent areas. As you have not yet imported any images, the entire canvas is transparent.
When saving to an image file or printing, the pattern will be not be visible and will instead be white.
It's usually best to begin with the Canvas section. Changing the canvas settings mid-project can affect the placement of your layers and require additional work.
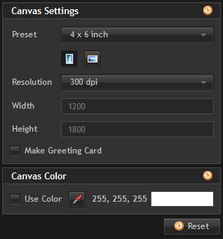
The canvas settings allow you to choose from several common photographic and paper sizes, landscape or portrait layouts and a range of DPI resolutions. For this tutorial we're going to use the default settings of 4x6, portrait and 300dpi.
Check out the Canvas chapter for full details.
Import
This toolset allows you to manage your foreground and background images. You can change your images whenever you like simply by hitting the Import/Add buttons, or by dragging images onto the PhotoKey interface.
In PhotoKey 6 Pro the Foreground and Background settings are separated into separate tabs at the top of the toolbox. You can switch between the Foreground and Background tabs at any time.
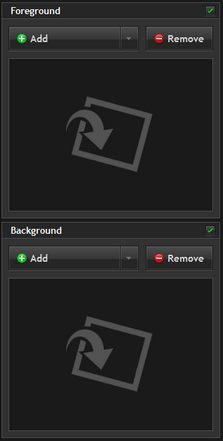
When you first select the Import toolset both the foreground and background layers will be blank.
PhotoKey and PhotoKey 6 Pro have different Import toolsets, because PhotoKey 6 Pro can import multiple images. For more info on PhotoKey 6 Pro's systems see Batch import.
First import a background image by clicking the Add button in the background section. Any image file can be used in PhotoKey.

The full background image is displayed in the preview panel as well as on the canvas. If the image is larger than the canvas settings it will overflow into the darkened area of the workspace outside the canvas (this can be changed by changing the Canvas or Position settings).
Background images don't have green screen removal options, so don't try to import a green screen image to the background layer.
Now import a green screen photograph by clicking the Add button in the foreground section.
PhotoKey 6 Pro can import more than one foreground image at a time. For a closer look at the batch processing features check out the Batch import chapter. For now we'll focus on just a single foreground image.
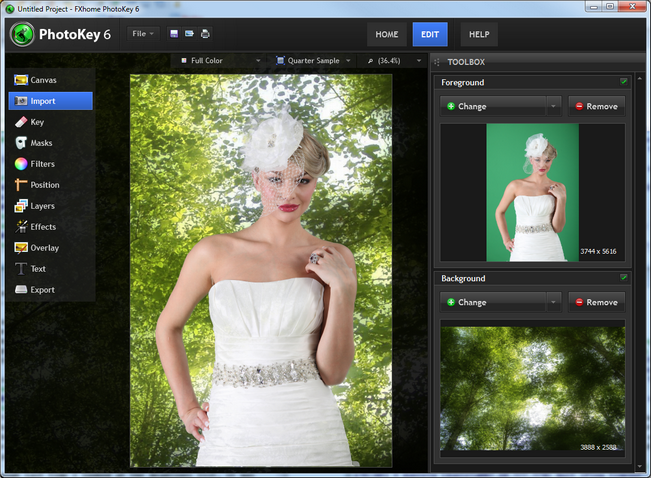
PhotoKey automatically removes the green screen in the photograph, revealing the background image. In many cases, this is all you need to do in PhotoKey to get a good result.
Key
The automatic removal of a green screen from an image is called keying. Although PhotoKey's default settings can create excellent results you will sometimes need to tweak the settings manually, particularly if there were any lighting or green screen problems during the shoot.
The best way to check for compositing problems is to switch the canvas view mode from Full color to Foreground alpha. This shows the foreground as a black and white image like this:
The auto chroma key filter also has its own view modes which you can use instead.
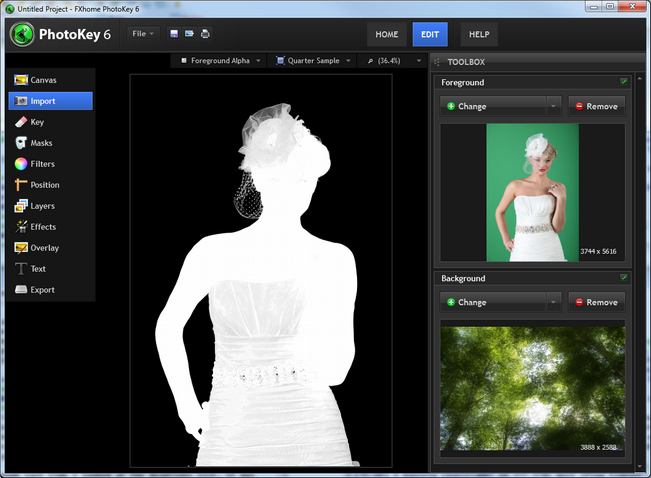
Black areas represent fully transparent areas of the foreground.
White areas represent fully opaque areas of the foreground.
Gray areas represent semi-transparent areas of the foreground.
This makes it much easier to see how to make adjustments. In this case it's evident that the dress is more transparent than it should be.
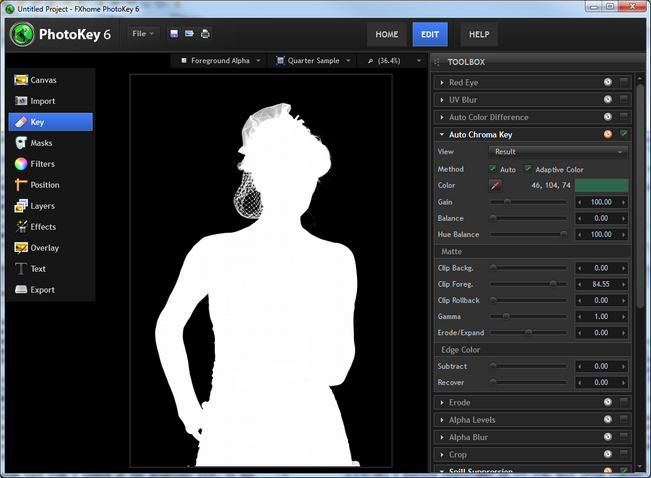
Using the auto chroma key, a simple lowering of the Clip foreground setting results in a much cleaner key.
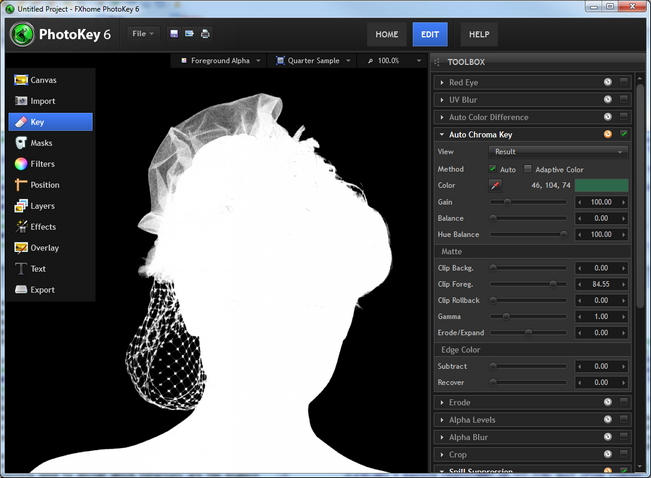
In this case, using the new adaptive color feature increases detail in the headdress. Here's a close-up with adaptive color turned off:
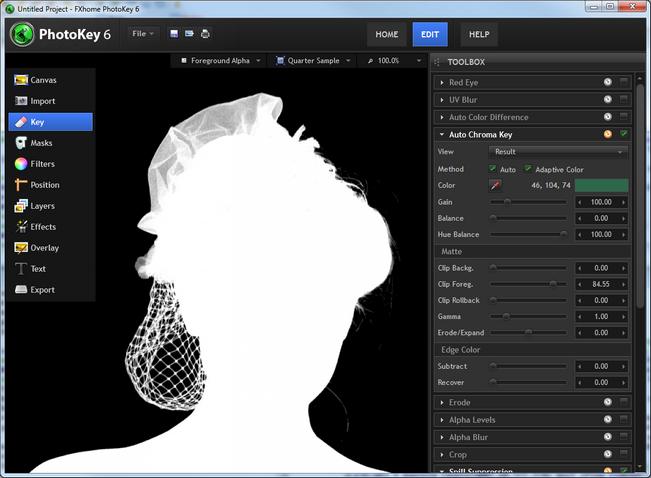
With adaptive color turned on, the grid shape in the lace is recovered:
For detailed information on both of PhotoKey's keying filters and adaptive color, take a look at the Key chapter.
It's worth noting that if you have to drastically adjust your Key settings every time, it might be worth looking into tweaking your green screen setup to improve the source photos. A little extra time in the photography stage can save a lot of work during compositing.
Once you're happy with the composite you can switch the canvas back to Full color mode.
Position
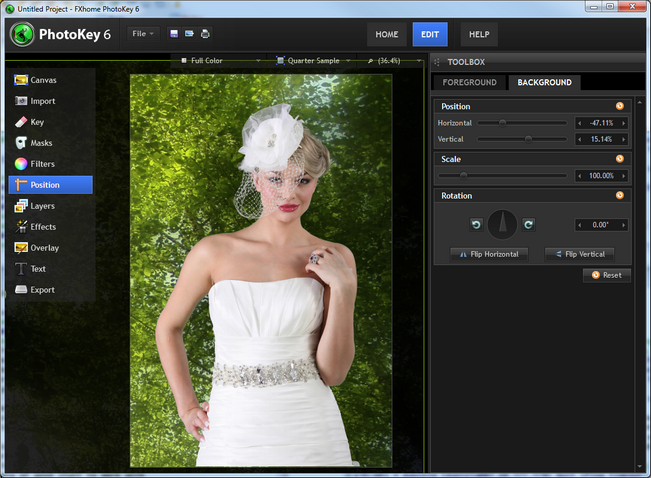
The background image in this example was much larger than the canvas. This can be adjusted in the Position toolset.
When making position adjustments you can either use the toolbox sliders or the canvas controls. The canvas is faster and easier, while the toolbox provides more precision.
To shrink down the background, first we need to switch to the Background tab. The controls on the canvas or in the toolbox can be used to move or scale the background as required:
Filters & effects
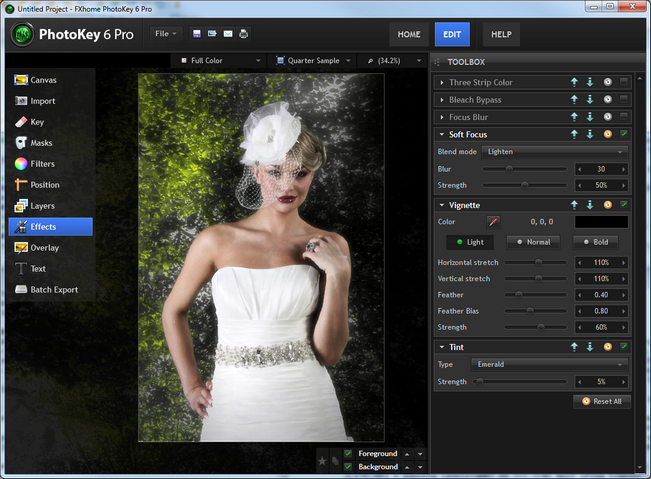
Both PhotoKey 6 and PhotoKey 6 Pro include a wide range of filters and effects that can be used to enhance the appearance of your images.
In this example you can see a selection of PhotoKey 6 Pro features used to create a more stylised version of the same composite, with higher contrast and color tweaks:
Saving
It is important while working in PhotoKey to save your project regularly. This way you can work on the same project over several sessions, and won't lose any work in the event of a power failure.
PhotoKey 6 Project files do not include the actual image media. If you want to transfer the project to another computer you will need to also include the associated image files.
You can save your project at any time by clicking the disc icon, or from the File menu.
PhotoKey 6 Projects cannot be opened in other software. If you want to create a final image from your project, you need to Export it.
Export
The Filters, Layers, Effects and Overlay toolsets provide lots of creative options for customizing your images. How many of them you use is entirely up to you and will vary from project to project.
Once you are finished working on your image you can export it to a new image file. The blue picture icon on the toolbar is a quick way to export the currently display image, or you can choose 'Export canvas' from the file menu.
Users of the Pro version can export more than one image at a time. Check out the Batch Export chapter for more information.
RECAP Importing and compositing an image in PhotoKey only takes a handful of clicks.